Street Photography Tips for Beginners
Street Photography Tips for Beginners
Apply these street photography tips and you’ll soon discover that this photography style is not as difficult as most people think.
In fact, someone says that it’s probably one of the most difficult styles of photography. I disagree.
Yes, like any other type of photography, you have to acquire the right skills and experience to capture great street photos. It takes time, trial and error but the most crucial thing to understand is that it doesn’t help if you are a shy person.
So are you ready to overcome what’s holding you back from street photography?
Adequate preparation and open-mindedness is key to taking breathtaking street shots. The fundamental aspect of street photography is having fun and enjoying interacting with people to capture unique moments of their lives.

As I said, time and experience will help you master street photography, but with these critical street photography tips, you can be sure to be walking on the right path to improving your technique.
Street Photography Definition
According to Eric Kim Photography, to know what Street Photography is, first of all, we have to define what street photography is not.
There are trees, waterfalls or mountains in your photo? It’s not street photography.
Is your photo entirely staged? That’s studio photography.
Street photography has to be spontaneous.
Or at least capture an emotional reaction and the personality of the subject in a natural and “candid” state.
Choose the Right Lens for Street Photography

While zoom lenses are widely used in different types of photography, they are not ideal when doing street shots. This has nothing to do with their image quality, but their size and practicality.
For one, walking with a huge zoom lens in most cases will attract attention.
It’s always better to keep a low profile and don’t attract too much attention.
Passersby won’t act naturally when they see a big zoom lens, especially when it’s pointed to their faces.
Instead, go for a decent prime lens as they are more convenient to use.
You can read my article here if you want to know why most people find a 50mm the best focal length for street photography.
These types of lenses are relatively smaller and look less menacing than ordinary zoom lenses. Additionally, if you use semi wide-angle lenses, they allow you to capture your subjects discreetly, without necessarily having to point the camera at them.
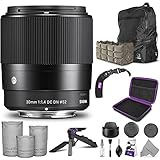
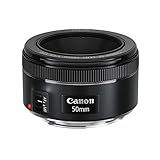
If you’re starting out in street photography take a look at these unbelievably well-priced lenses on Amazon:
- Nikon 35mm 1.8 DX
- Nikon AF-S FX 50mmf/1.8G
- Sigma 30mm F1.4 (for Sony E-mount)
- Canon EF 50mm f/1.8 STM

Best Camera Settings for Street Photography
These street photography settings are intended for new starters.
Please note: different lighting conditions and different subjects or environments often require a bit of experimenting with the camera settings. There’s no one size fit all solution.

What are the best camera settings for street photography?
It depends.
Are you doing night street photography? Then you’ll need to raise your ISO.
Also, in the streets, subjects are always in motion and may appear and disappear within the flick of an eye. As such, you need to be armed with the right open-mindedness and creative approach to decide the effect you want to obtain.
Knowing the right street photography settings is key to capture lightning-quick scenes without compromising on image quality.
Set your camera to Aperture priority mode (A or Av) if you want to have more control on the Depth of Field or Shutter priority mode (S or Tv) to have control on the motion blur.
The 3 essential settings for street photography are as follows:
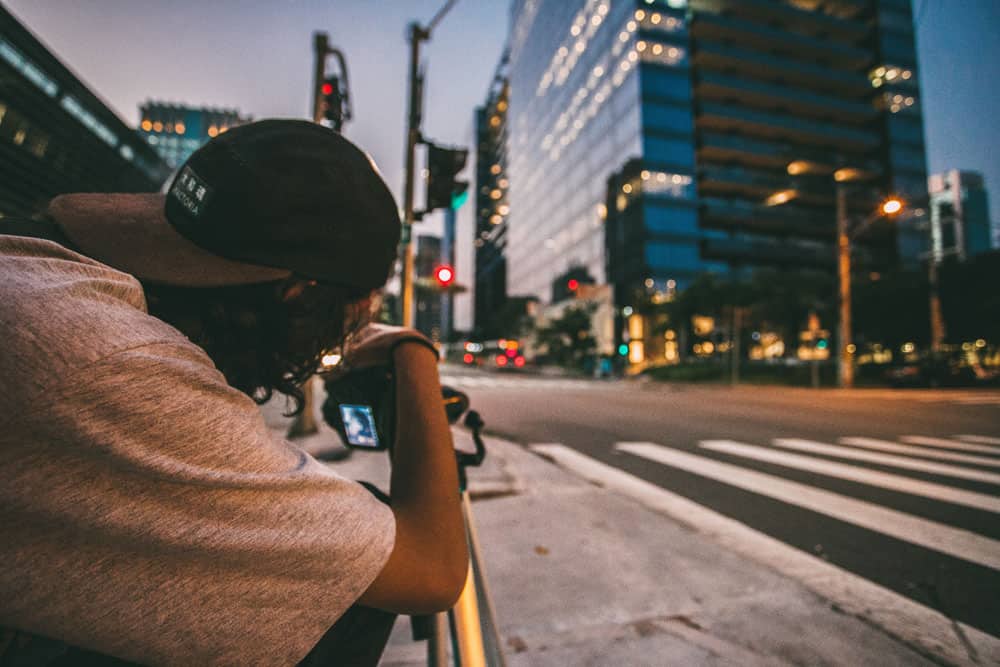
Best Shutter Speed for Street Photography
Where there’s a lot of light, the shutter speed needs to be high enough to “freeze” the scene, and produce sharp images.
For street photography during the daytime, I recommend a shutter speed of min 1/250th of a second.
For street photography at night or in darker condition, you may set it between 1/1 25th to 1/160th of a second, but you’ll have to raise your ISO.
Aperture
Smaller apertures give you more depth of field, which can be ideal in outdoor and street photography when you want a greater region of your image in focus. Use a range from f/8 to f/16.
If you are shooting at a more intimate distance and you want to obtain a blurred background (bokeh) use a wider aperture. Start from f/4 and open up to f/2.8 so that you have different images to compare.
ISO
While using a fast shutter speed and smaller aperture, in low light you need a higher ISO setting to get enough light in your street shots. Basically, use ISO 100 to 400 when shooting in daylight, and ISO 3200-6400 when shooting at night.
The more you raise your ISO the more you risk compromising the quality of your photographs due to the introduction of digital noise. So pay attention to this aspect and make sure you find the right balance between shutter speed, aperture, and ISO to achieve the right exposure.
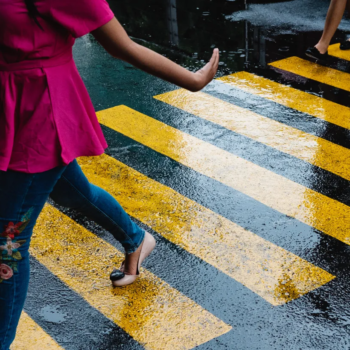
Street Photography Technique is all about Telling a Story

As you go about shooting in the streets, capture scenes that will captivate your audience and make them curious to know the intrinsic story behind the image(s).
Just like in a film, have an idea of who your “actors” will be, the backdrop setting and what kind of emotions you want your work to portray.
Capture the small beautiful things around you.
Often the real beauty and power of a photo is in its simplicity. Pay attention to what and who is around you and you will start noticing things that we always give for granted.
That’s where you will find your story to tell.
Try a Shot Without People

It is undeniable that people add some depth to street shots.
Urban spaces offer colors and several elements to compose an abstract street photo. We are talking about art and it’s not written in a manual that you have to include people in your street photos.
As you get the hang of street photography, try to capture a few scenes without people in them. Whether it’s a shot of a parked vintage car or a classic building sticking out in the middle of modern skyscrapers, images can still make sense without the human factor. Matter of fact, some objects are stories by themselves and convey different emotions as well.
Get Permission

Improving your street photography technique is not enough.
Although most street photographers would tell you otherwise, it is always a good (and safe) idea to seek permission before taking pictures of people. You shouldn’t experience any problems as far as that goes if you’re polite and charming in your approach.
Additionally, enquire about the photography policies of every building or institution you want to take portraits of. Just like individuals, some building owners or managers may sue you for the invasion of privacy if you go clicking your camera all over their premises.
For instance, there are buildings or areas (mostly government institutions) where photography is prohibited for security purposes. You are therefore advised to ask before pulling out your camera. Moreover, don’t forget to seek permission to share the pictures taken, especially on online platforms.
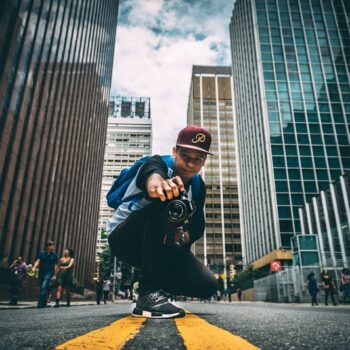
Get Closer to Your Subject

Being as close as possible to your subject is essential for two reasons. Firstly, it throws them off (in case it’s a person) and makes them think that you’re photographing something behind them. Secondly, closeup shots give the viewer the perspective of being part of the scene.
Notably, if you’re using a wide-angle prime lens, you will be forced to get very close to your subject to bring them into sharper focus. In that case, a 24, 28 or 35mm lens on a crop or full-frame camera would serve you pretty well.
Don’t Over Edit Your Street Photos

If you’re using a good camera with the right settings as highlighted above, you won’t have to do much editing.
Street photography is about capturing the streets in their natural state – people moving about, cars passing by, buildings in all their glory, etc. Adding too much color, over-cropping or using the wrong layers will most likely take the life out of your photos or even change the overall mood themes.
The key is to only add or remove the things that are missing or excessive in the original photos, and that’s all. Over-edited photos will make you look like an amateur, and you can bet someone on your Instagram will rudely point that out!
Bonus Tip
Get inspired. Studying the work of famous photographers is one of the best ways to improve your street photography skills. Take a look at this list I made of amazing street photographers to get your inspiration.
Conclusion
You may also have to deal with people walking in and out of your action zone or, in some cases, angry outbursts when someone sees you take a picture of them. As such, it is essential to work on your interpersonal skills as well as your temperament before picking a camera and heading to the streets.
All in all, street photography is really cool, and can even earn you a respectable income if you become good at it. To help you along, I compiled the following essential tips on street photography:
All said and done, the most essential thing in street photography is to be authentic and have fun. Just go out there with an open mind and eyes and the scenes will bring themselves together.
What other street photography tips you have to add to this list?


Stefano Caioni is a photographer from Sydney, Australia. Founder and editor of Pixinfocus, his passion for photography helps him explore new places and live new adventures. Thanks to photography he reconnected with the outdoors and was able to travel the world and take photos of some of the most beautiful places on Earth.